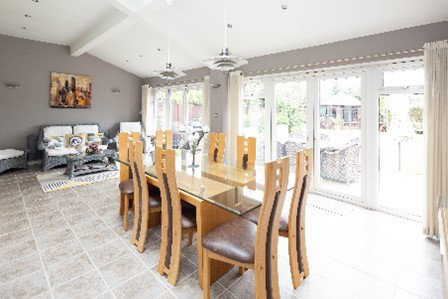
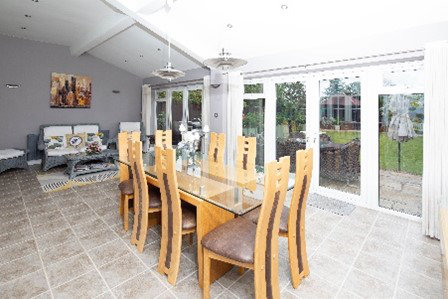
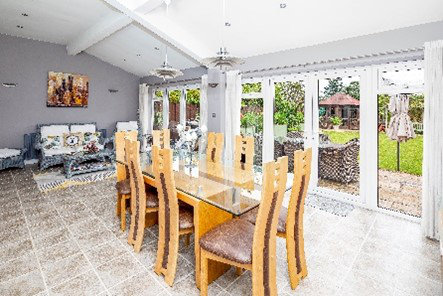
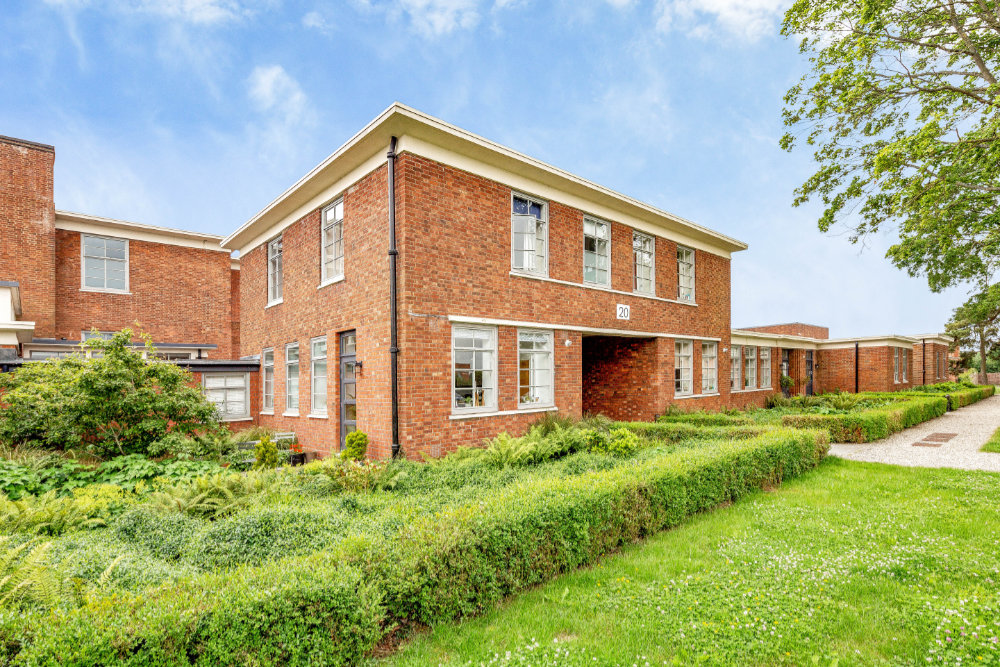
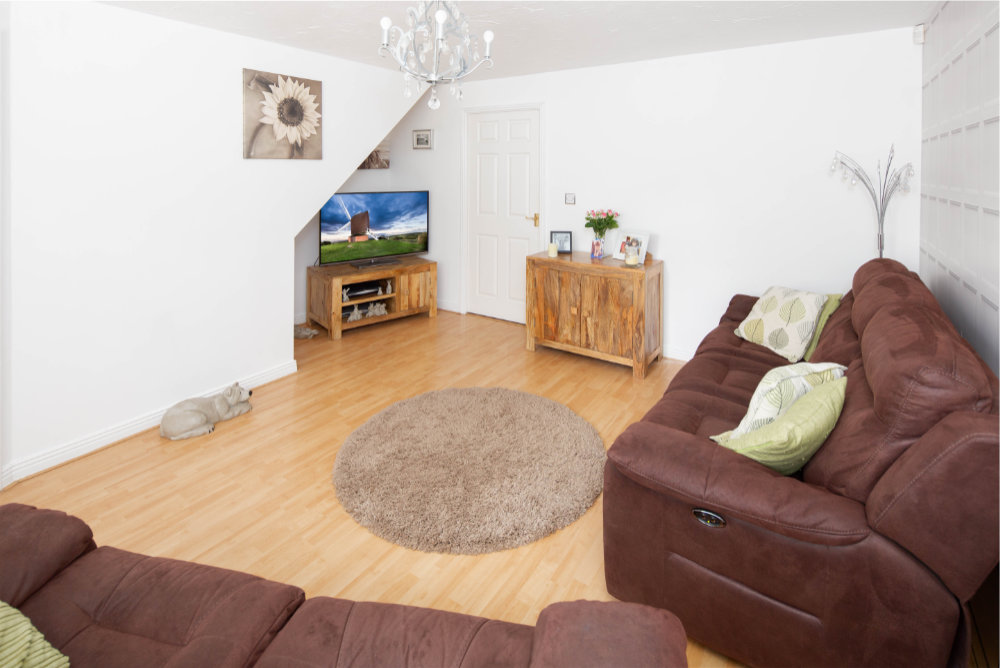
This was developed in the USA and is used extensively in California particularly, where it is considered an essential standard for any successful agent. 'Flambient' is a method of blending flash and ambient images, ambient being those only lit by natural daylight.
'Flambient' Blending creates an image closer to what the eye sees. The ambient light is strongest nearest windows and glazed doors, while flash lighting is used to balance out the light across the room in the darker areas and deliver a more consistent light throughout the shot. Because the exposure is dialled down for the flash shot the details in the brightest parts of the image are better captured. At the other end of the spectrum, the details in the shadows are brightened by the flash. By taking the flash shot and blending it with the ambient shot, the shadows are partly re-introduced which means that the finished image looks natural. It’s much better lit than in real life and makes property look fresh and bright without destroying the shadows that make it look natural. The colour accuracy is controlled by the flash shot which is a consistent source of light delivered at 5500 Kelvin by the flash gun. This means there is a fixed reference point to correct any colour anomalies. Typically, these colour errors are seen as yellow baths, when they should white, in tungsten lit bathrooms etc. 'Flambient' corrects all that.
There is also a variant of 'Flambient' known as 'Luminosity Masking'. This is similar except that it uses an inverted luminosity mask, meaning a monochrome filter, a bit like laying an old-fashioned film negative over everything to control the flow of light through the ambient image and then blending that with a flash shot.
Ambient with floor detail lost
Flash with ceiling detail lost
Flambient with all detail captured
HDRI
This is using a method of blending from what are known as bracketed exposures. Bracketing is where an image is taken on the camera at the correct exposure, one a bit darker, another a lot darker, one a bit lighter and finally another a lot lighter. This provides a range, so that when they are blended the details like the brightest parts of the sky don’t go into a mushy white fog. It tones it down and keeps the details such as cloud definition. Conversely, the shadows go the opposite way to lighten up and reveal the detail there. It produces an image closer to what the eye sees. It is good for external shots particularly bringing back detail in the branches and leaves of trees, clouds in the sky and front door detail in shady porches, for example.
This is because the light outside is about four times brighter than the light inside and the camera does not have what is known as a wide enough dynamic range to cope with it. It is like when you walk outside, when you have been inside for a long time, and you are blinded by the sunlight on a sunny day. To capture the detail through the window the camera exposure needs to drop until almost all the rest of the room is close to black. Only then those darker pixels in the windowpanes, and items over-brightened by the daylight on the windowsill, like plants and photographs can be seen properly. It is complicated as you must cut around every object, sometimes every twig, leaf, flower and petal etc. It gets difficult with an object like a dream weaver which has complicated edges around feathers where the edges naturally let through variable amounts of light. Fortunately, we are very good at it.
Sky Swaps
This is when it is a cloudy day, and you want the sky to be nice and blue. There is a fast nasty way of doing this and the professional way.
The fast nasty way that you see quite a lot gets the masking wrong leaving either white or black rims on leaves etc. Also, the sky naturally gets bluer the further you get above the horizon and this grading is often absent. Another thing often poorly executed is that TV ariels and telephone cables disappear.
Done properly the blending should be subtle and look natural, the clouds should be in proportion, the colour should be softer where it meets the roof and harder at the top of the image and all the little details such as TV aerials, satellite dishes, phone lines clearly visible. There should be no join lines around leaves, twigs and branches and the sky should be one that was taken locally rather than a software import. A desert sunset does not look right in Arkwright Gardens at 12:00 midday!
We have perfected new techniques in sky swaps that are now being widely used across the USA where we are on industry forums and share skills with other photographers.
BEFORE
AFTER
BEFORE
AFTER
Shadow Lift
Shadow lift is where an external shot has a very harsh shadow that needs brightening up. Most editing software has the capacity to lighten shadows but sometimes that limited amount is not enough.
The problem is that a viewer’s mind records distance by measuring contrast. So, if you look down a garden and there is a dark shadow from the fence, typically that viewer will remember the garden as being about 5Ft narrower. On a two-bedroom terrace home where the garden is only 12Ft or 13Ft wide that is a real problem. By brightening up the shadows further than editing software will normally allow it brings out most of the shadow leaving the continuation of grass as the mental measuring point. Again, it is a multi-layered technique and is highly effective. Another good use for it is when the sun is directly above the roof on a front shot and the whole front of the house is in shadow. In extreme circumstances we can use a flash which is about 8 times bigger than a normal on-camera flash to counteract the effect of the sun and brighten the shadows that way.
BEFORE
AFTER
COMPARISON
TV Swap
Very often a TV has reflections on it from a window. The easy solution to this is for us to add an image to the TV.
When browsing online buyers can be put off by lots of reflecting glare off the TV, especially if they are into watching football! In this example there is a glazed pod directly opposite the TV generating lots of reflections. When there are plants and things which overhang the TV, we do have to create a mask around it so it does not look weird.